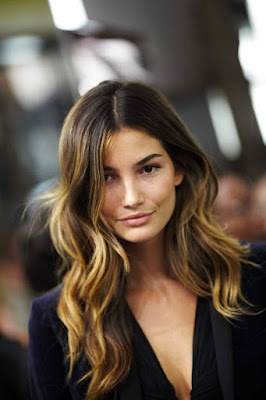
Victoria Secret's Angel Lily Aldridge rocking her ombre hair
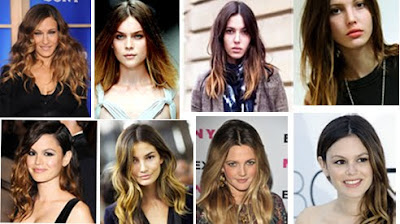
You might be familiar with the new Ombre hair trend that we've been seeing on a lot of celebrities for the past year. The term ombre basically means that one color fades into another, in hair this has come to mean color that is much lighter/brighter at the tips and then fades out as it gets closer to the roots. You might recognize it from celebs like Drew Barrymore, Rachel Bilson or Victoria Secret's Angel Lily Aldridge:
I have been dying (har har) to try this trend, and since I am a control freak who can't bear the idea of a hairstylist touching my hair, of course I decided to do it myself. There are a bunch of youtube tutorials etc that you can look up to see how other people did theirs, but this is how I did mine.
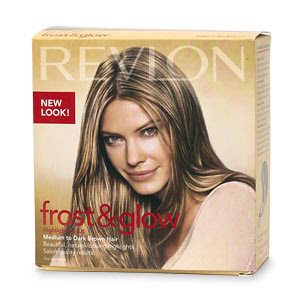
First I bought this dye, its a highlighting kit especially designed for dark hair.
I put it on my hair starting very thickly at the tips (really saturated so much that I couldn't even see the hair underneath) and then less and less thickly until it faded out about 3 inches from the tips. Then I wrapped each section of hair in tin foil and waited...and waited...and waited. After about an hour and fifteen minutes I had achieved the lightness that I was looking for (and I was worried that my hair might fall out if I kept bleaching it any longer).
Unfortunately, certain areas were blond, but a lot of them had turned a brassy yellowy/orange color. Of course I was also dyeing my hair in the middle of the night, so I had to wear that brassy hair to work the next morning! (oops)
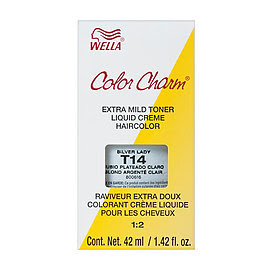
The next day after work I got busy with the second step of the process: toner. Toner helps take the orangey/brassy tones out of the blonde as well as blend it into the rest of your hair. It is an invaluable step in going blonde.
The first toner I used was Wella T27. It was called a "golden violet" color which I though would keep them warm and caramely colored but would take out a lot of the orange. The violet shade really did counteract a lot of the Brassy-ness, and the dark caramel tone really helped blend the tips into the rest of my hair.
 Afterwards, however, I still wanted the tips to have a bit of that platinum, "surfer-girl" feeling, so I applied another toner just on the ends. For this I used Manic Panic Virgin Snow, a semi-permanent violet toner which cools down any color, and is apparently the holy grail for people who dye their hair platinum.
So two days later, my hair was perfectly awesomely surfer girl, and all my friends were raving about how it really suited my laid-back, hippie hair. Now lets see the final results and you can see what you think:
This was my hair before the ombre:

And this is the ombre:

I'm really really happy with how it turned out, but I think once my hair has healed a little I'm going to do a few more highlights further up the hair. Right now its kind of this drastic shift between the tips and the rest of my hair, and I think a few little highlights laced throughout would make it blend even better. Still trying for that Lily Aldridge perfection: